

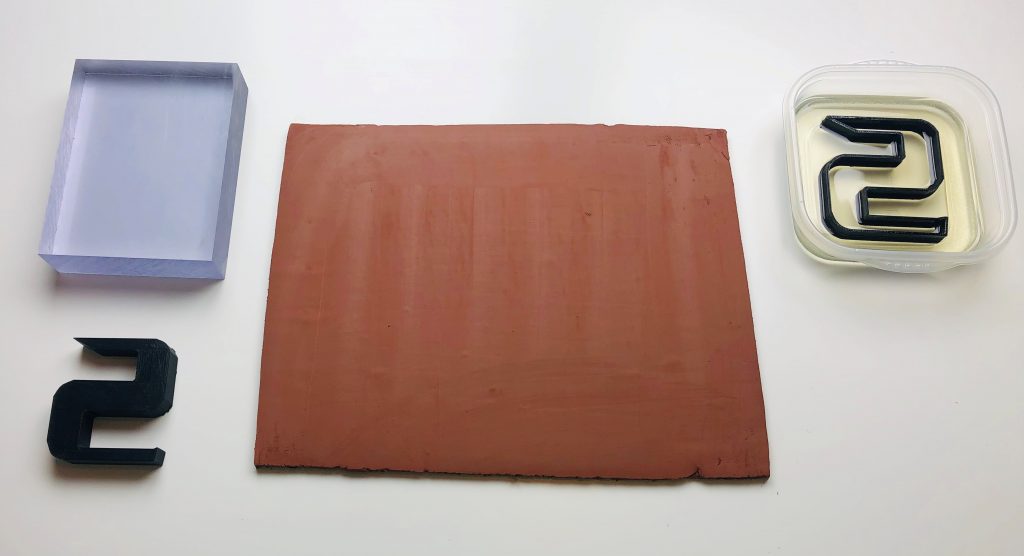
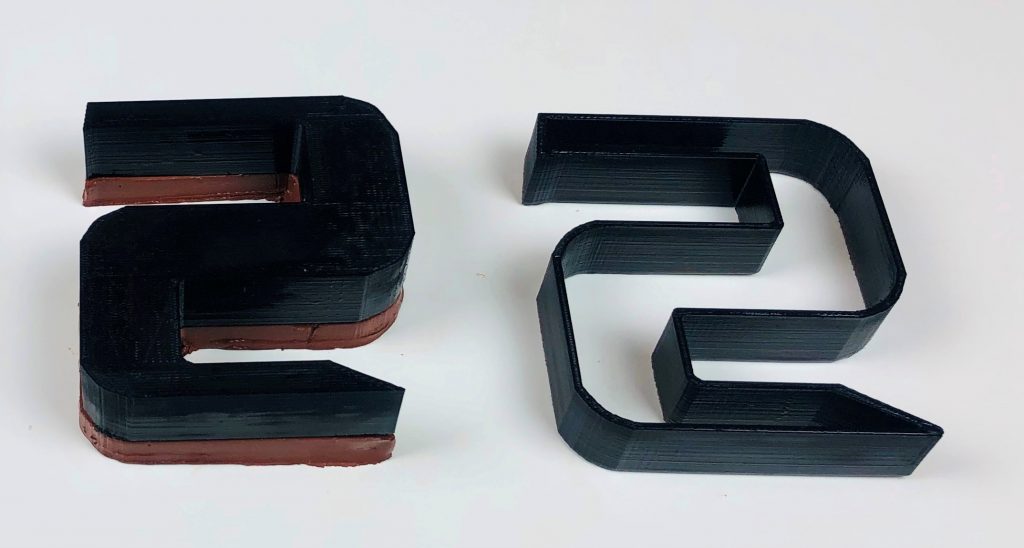
step 1: materials needed for production: claycutter, clay slab, hard flat object, lubricant.
step 2: lubricate clay cutter. vegetable oil works great.
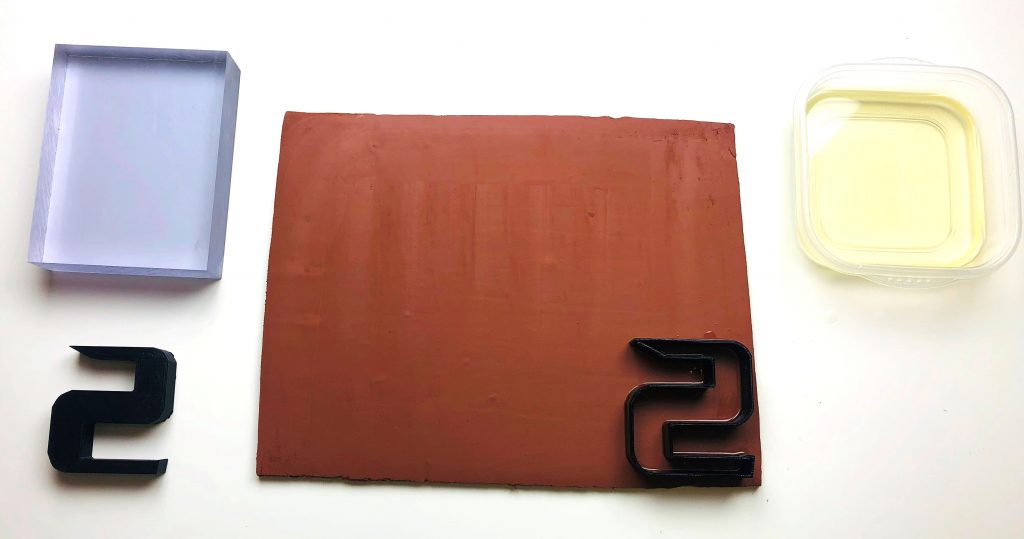
step 3: position claycutter on clay slab.
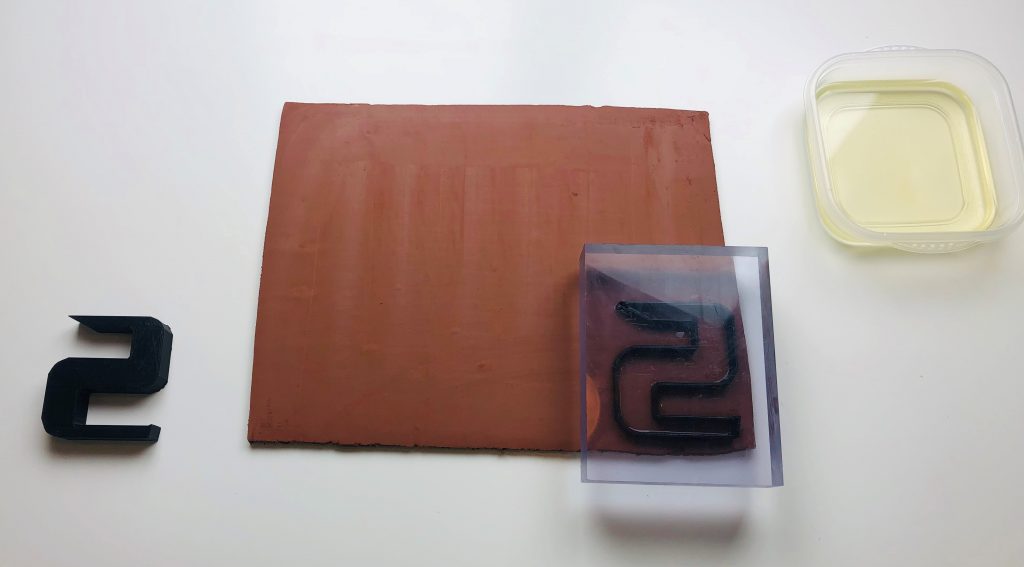
step 4: push claycutter into clay using flat object. (book, board, etc)
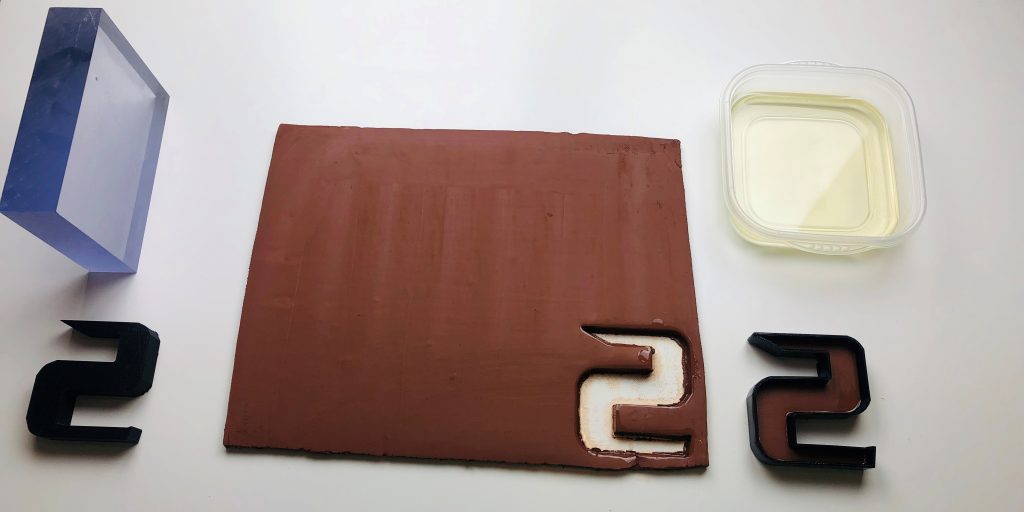
step 5: separate claycutter from clay slab.
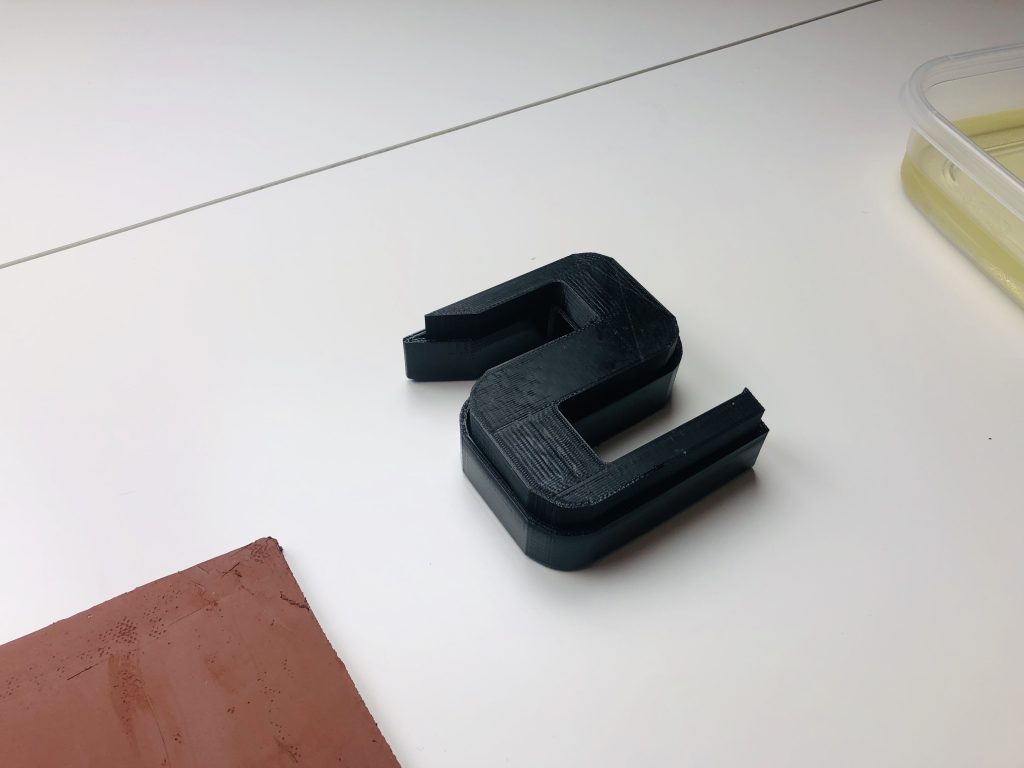
step 6: insert inner shape of clay cutter.
step 7: push out clay shape from claycutter.

That’s all folks!